| Fall of Lantern Hook (Expert) | |
|---|---|
| LH | |
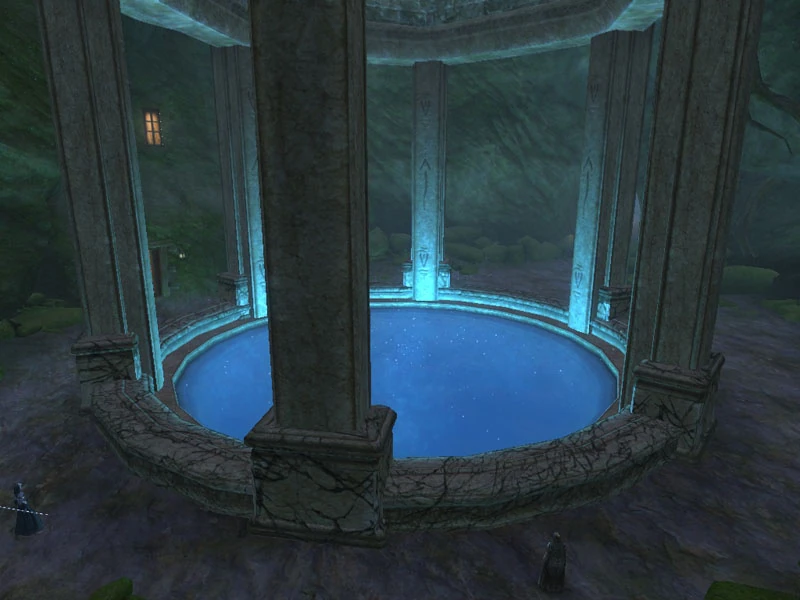 | |
| Jump in this pool if you dare.. | |
| Location | Droughtlands |
| End boss | Oludare the Firehoof |
| Instance info | |
| Type | Dungeon |
| Advised level | 50 |
| Player limit | 5 |
| Lockout timer | Daily Reset 5AM Server Time |
This article describes the tactics, achievements and quests unique to the expert version of Fall of Lantern Hook. See Fall of Lantern Hook (Dungeon) for more information on the normal version of this instance.
Quests[ | ]
- Hope Still Burns (Automatic, Inside Dungeon)
- In Dreams (Daily, Guardian)
- Time to Kill (Daily, Defiant)
Achievements[ | ]
| Achievement | Score | Description | ||
|---|---|---|---|---|
| Don't Stand In Fire | 10 | Defeat Pyromaster Cortilnald without taking any damage from Pillar of Fire and without dying on expert difficulty. | ||
| Fire Drill | 10 | Defeat Flamebringer Druhl without any player taking damage from another player's Molten Instability on expert difficulty. | ||
| It's Still Too Late | 10 | Defeat Oludare the Firehoof within 3 minutes of Helena Brass successfully reaching the ground floor of Lantern Hook on expert difficulty. | ||
| Kitty Conservation | 10 | Defeat Rorf without killing any of his feline companions on expert difficulty. | ||
| Right Meow | 10 | On three separate visits, defeat Rorf leaving each member listed as the last minion alive on expert difficulty.
| ||
| Scorching Shards | 10 | Defeat Emberlord Ereetu with 10 or more Scorching Shards alive on expert difficulty. | ||
| The Great Escape | 10 | Successfully escort Helena Brass to the ground floor of Lantern Hook on expert difficulty. | ||
| Fall of Lantern Hook (Achievement) | 10 | Defeat all of the bosses in Fall of Lantern Hook.
| ||
| Expert: Fall of Lantern Hook | 15 | Defeat the bosses of Fall of Lantern Hook on expert difficulty level.
| ||
| Rapid Assault: Fall of Lantern Hook | 15 | Defeat all Fall of Lantern Hook bosses on expert difficulty within 40 minutes of first combat. | ||
| Achiever: Fall of Lantern Hook | 15 | Complete all Fall of Lantern Hook achievements listed
| ||
| Conqueror: Fall of Lantern Hook | 30 | Complete all of the Fall of Lantern Hook achievements listed
|
Bosses[ | ]
Rorf[ | ]

On Expert mode, Rorf has three adds instead of one. The strategy that seems most effective is to pull all of the adds together behind the pillar in the center of the room. Rorf moves very slowly around the pillar to get back into line of sight of you and his pets. While in line of sight, Rorf will shoot spectral pets at random targets for 1500+ damage, so make sure you aren't visible to him. When the pets drop below 50%, he will start casting a channeled heal on them from time to time, which can be interrupted to speed up the fight. AoE down the pets, the order doesn't seem too significant. When the pets are all dead, focus the boss.
An alternative method is to simply stand there taking all the damage and nuke him down. Obviously this will cause quite a bit of stress on your healer, and will most likely not work properly in the average PuG. Be aware that he randomly teleports around the room as well, meaning you need to move his pets towards him every now and again. Interrupting his heal stays important during the whole fight. This is a fairly obvious casting animation of him pointing his spear towards one of his pets, and as a tank this is easily interrupted.
Loot[ | ]
- [Cat Clawed Bracers]
- [Litter Kickers]
- [Scary Fury]
- [Scratched Tassets]
- [Sneaky Treasure]
- [Squabble Squelcher]
- [Tome of Feline Wisdom]
Pyromaster Cortilnald[ | ]
Pyromaster Cortilnald is not very different from normal difficulty when leveling. Other than hitting harder. So long as you are paying attention to debuffs and your standing locations to dodge the fire pillars, you can easily push this boss over without breaking a sweat. Be careful, it is easy to LoS the healer.
Loot[ | ]
- [Blood Drinker]
- [Pyroblade]
- [Fire Hewn Bow]
- [Flame Born Gauntlets]
- [Purge Bringer]
- [Recipe: Callous Blade]
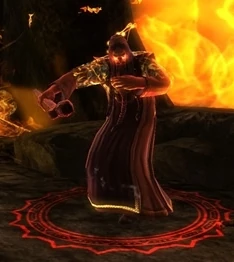
Flamebringer Druhl[ | ]
Flamebring Druhl is a new boss for Expert difficulty only, he appears in the open area just before Emberlord Ereetu after you clear the trash in the area.
Tank the boss in the middle of the room, right where the stairs to the lower level are beginning. The party should surround the boss while staying at max range, each party member standing in one direction (North, West, East, South). When the boss pulls everyone in, all party members but the tank quickly move away from the boss to avoid taking too much damage. Once everyone is back at their position, the dps resumes. The tank just stands in the middle throughout the whole fight.
Loot[ | ]
- [Burning Iron Boots]
- [Dark Tread Slippers]
- [Fang of Maelforge]
- [Inferno's Bane]
- [Rock Skin Gloves]
- [Searing Necklace]
- [Slag Iron Greaves]
Emberlord Ereetu[ | ]
Emberlord Ereetu is not very different from normal. Other than flame pillars that appear faster and overall more damage. It is easiest to start in one corner and the tank slowly kites around the outer edge of the platform, don't worry, you cannot fall off. The tank needs to be wary when a new flame pillar is up so ranged can move out of it's area of affect, it will kill you within a few seconds otherwise.
Loot[ | ]
- [Crystalized Flames]
- [Dark Tread Slippers]
- [Devil's Teeth]
- [Fang of Maelforge]
- [Fire Eye]
- [Inferno's Bane]
- [Magma Rod]
- [Slag Iron Greaves]
- [Ereetu’s Flamebound Spire]
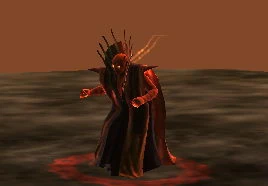
Oludare the Firehoof[ | ]
Oludare is a new boss for expert difficulty, he is back down the bottom where you encounter the first boss, however you must first run a gauntlet of mobs and keep Helena Brass alive for an achievement as well. If you die on the gauntlet you can run back in and go straight to the boss.
For this fight it is best for ranged to stay spread out, the tank should pickup Oludare where he is standing. He will randomly charge a player and run back to the tank and on occasion will stop moving / attacking for a few moments and cast 3 large area flame pillars when he next runs. Be ready to move and reposition yourself. The flame pillars will subside before he does it a second time.
Loot[ | ]
- [Centaur Greathelm]
- [Raging Stampede]
- [Recipe: Dark Iron Hauberk]
- [Dragon Soot Leather]
- [Fire Silk Robes]
- [Flame Drenched Mail]
- [Magma Forged Breastplate]
Videos[ | ]
Ciderhelm's Guide to The Fall of Lantern Hook Expert
See Also[ | ]